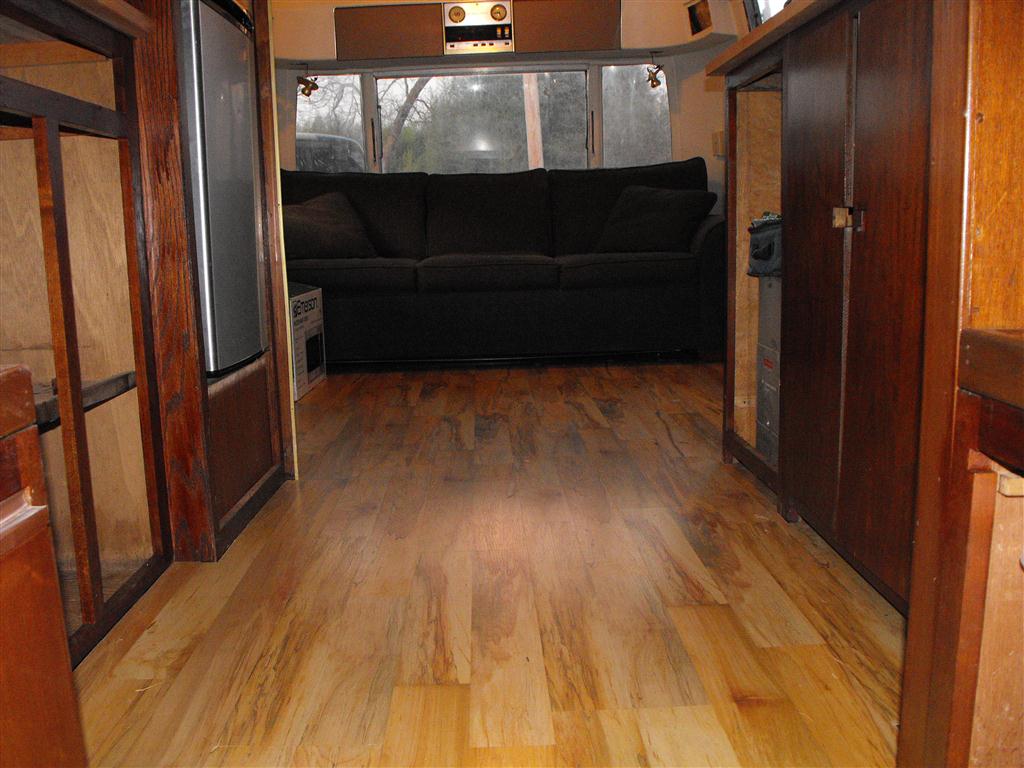
I finished up the floor in the front and kitchen areas, the bathroom sub-floor needs some work so that and the bedroom are not done yet.
In the first picture you can see the pull-out couch we got. It was hell getting it through the door but we finally managed. The couch is a Queen size so we'll have a lot more room than the original Gaucho.
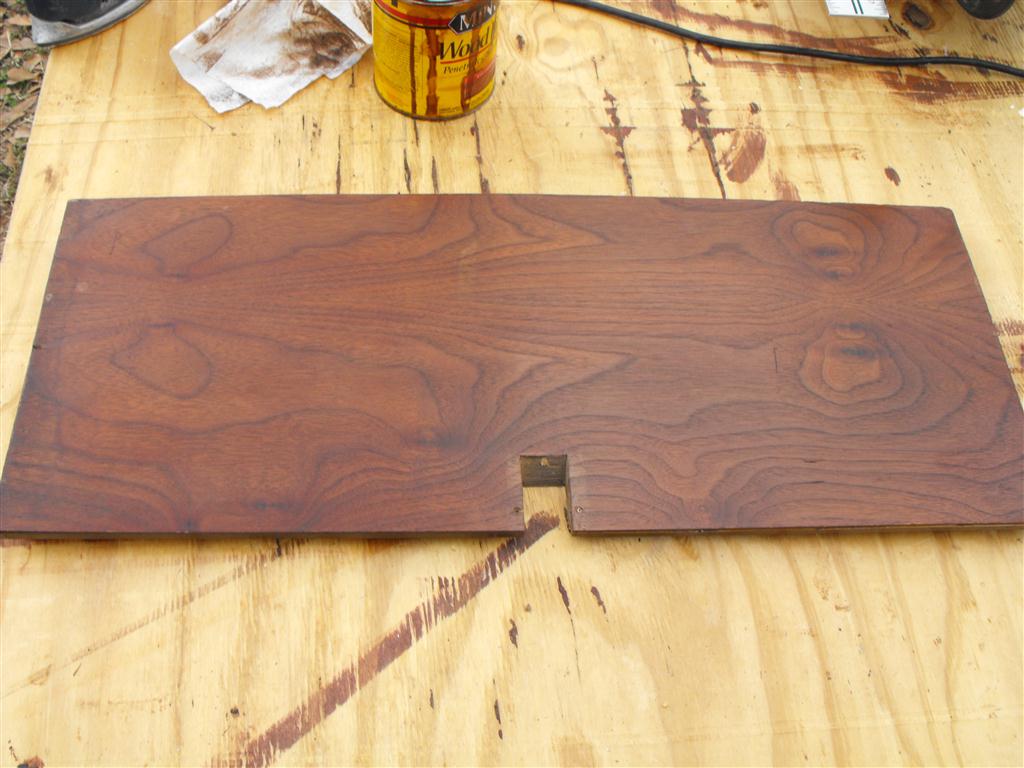
Most of the cabinet doors had de-laminated to some extent. I've spent the last few days gluing them then sanding, staining, and applying poly. Here is one that has just been stained and is waiting for poly.
The cabinet latches (the ones that weren't broken) were in sorry shape.
I lightly sanded the faces then sprayed multiple coats of Krylon Fusion plastic paint. I also had to paint the 3 new ones I got from Inland RV because they sent me white ones instead of brown ones.
Here are a few shots of the kitchen area with the restored cabinet doors.
I'm not happy with the color of the side of the sink cabinet, it's oak instead of walnut. I may sand and re-stain it to see if I can match it a little better.
Showing posts with label floor. Show all posts
Monday, February 21, 2011
Friday, February 18, 2011
Laying the floor
Yesterday I worked on the floor. I finished the patch near the door first. There were a few small areas of rot that I didnt want to have to tear out so I used a wood hardener on them, it seems to work pretty good. There was also the small holes by the door, for that I used bondo to fill them in.
Once the sub-floor was complete I laid the underlayment down.
With our previous Airstream I ran the flooring across from left to right. This time I want to go front to back, I think it looks much better this way.
I started in the upper left corner in the curve. To get the cut perfect I laid some underlayment down and cut it along the curve of the walls. Then I transfered that to a piece of cardboard. I then used the cardboard as a template for cutting the floor boards.
Getting the first board perfectly square was the hardest part. To get it perfectly square I started by finding the centerline of the camper, I used a marker to mark it. Then I measured 7 7/8th (the width of each piece of flooring) out from the wall right where it first begins to curve, I made this mark on the cardboard template. Then I measured from that mark to the centerline. I took that measurement up to the top of the curve and measured from the centerline towards the wall. I marked that line on the cardboard as well. This assured that the board will be perfectly squared, then I placed the cardboard template on top of the board, lined it up with the marks and traced the curve out on the first board.
This was as far as I got last night:
The flooring is called Spalted Maple. I'm hoping to have it finished today.
Once the sub-floor was complete I laid the underlayment down.
With our previous Airstream I ran the flooring across from left to right. This time I want to go front to back, I think it looks much better this way.
I started in the upper left corner in the curve. To get the cut perfect I laid some underlayment down and cut it along the curve of the walls. Then I transfered that to a piece of cardboard. I then used the cardboard as a template for cutting the floor boards.
Getting the first board perfectly square was the hardest part. To get it perfectly square I started by finding the centerline of the camper, I used a marker to mark it. Then I measured 7 7/8th (the width of each piece of flooring) out from the wall right where it first begins to curve, I made this mark on the cardboard template. Then I measured from that mark to the centerline. I took that measurement up to the top of the curve and measured from the centerline towards the wall. I marked that line on the cardboard as well. This assured that the board will be perfectly squared, then I placed the cardboard template on top of the board, lined it up with the marks and traced the curve out on the first board.
This was as far as I got last night:
The flooring is called Spalted Maple. I'm hoping to have it finished today.
Wednesday, February 16, 2011
Painting & sub-floor work
The painting is almost complete, I have a little more cutting in left to do and it will be done.
I also began working on the sub-floor. I cut the sub-floor along the frame then put in the new piece and secured it with self tapping screws. I had to drill pilot holes first though.
The small rotted area next to this will get some wood hardener then bondo. there is one other very small area of rot up front that will also get some wood hardener and bondo.
The rear of the camper has a potential issue as well, the sub-floor directly in front of the sink flexes a little bit. I've also noticed from the side profile that the rear looks like it might be sagging a bit. I'm hoping it's not but it looks like it might have a small rear end separation issue. I'll be digging into that next.
I also began working on the sub-floor. I cut the sub-floor along the frame then put in the new piece and secured it with self tapping screws. I had to drill pilot holes first though.
The small rotted area next to this will get some wood hardener then bondo. there is one other very small area of rot up front that will also get some wood hardener and bondo.
The rear of the camper has a potential issue as well, the sub-floor directly in front of the sink flexes a little bit. I've also noticed from the side profile that the rear looks like it might be sagging a bit. I'm hoping it's not but it looks like it might have a small rear end separation issue. I'll be digging into that next.
Subscribe to:
Posts (Atom)