Showing posts with label cabinets. Show all posts

Wednesday, October 19, 2011

Cabinet Drawer

Yesterday I built and installed the cabinet drawer.


The drawer face is temporary, it is pine which does not take stain the same as the walnut and oak that is in the camper. I was able to get it close but it is still somewhat noticeable. I will be buying a piece of oak for the drawer front soon.


I still need some type of handle for it.

Tuesday, October 18, 2011

Back to work

Over the weekend I got back to work on the Airsream. There are a lot of small projects I want to finish up before Falluminum, our first Airstream rally being held in Hiawassee, Ga.

The first thing I did was pull out the dent in the front. Here is a picture of what it looked like before:


and here is after:


I used a suction cup puller. Eventually I will remove the inner skin and hammer it out properly.

Next was the curved skin on the front street side that attaches to the belly skin. It was hanging down and looked really bad.

Before:


This is a bad after shot but you get the idea. I had to use a floor jack to hold the skin up while I riveted it into place.


The next thing I worked on was all the rusty metal on the exterior. The rims, bumper, and hitch were all painted at one point with an ugly gray paint that was peeling away with a lot of rust on it.

Here is a before pic:


Here is the after:


I sanding it down with a wire cup wheel on a drill then painted it with Rustoleum Aluminum paint.

Next I did the bumper. The aluminum door was mostly broken off so I riveted it back on once I painted the bumper.

Before:


After:


Next I tackled the rims, not only were they rusty but they were covered in grease from the hubs.

Before:


During:


After:


Next on the list was to build the microwave shelf and install the microwave.

Before:


Sorry I didnt get any in-progress pics of the shelf build but here is the after:


The last thing I got done over the weekend was the speaker covers in the front. I took them apart and painted them the lighter wall color for a little bit of contrast.

Before:


After:

Monday, February 21, 2011

More on the floor and cabinet doors

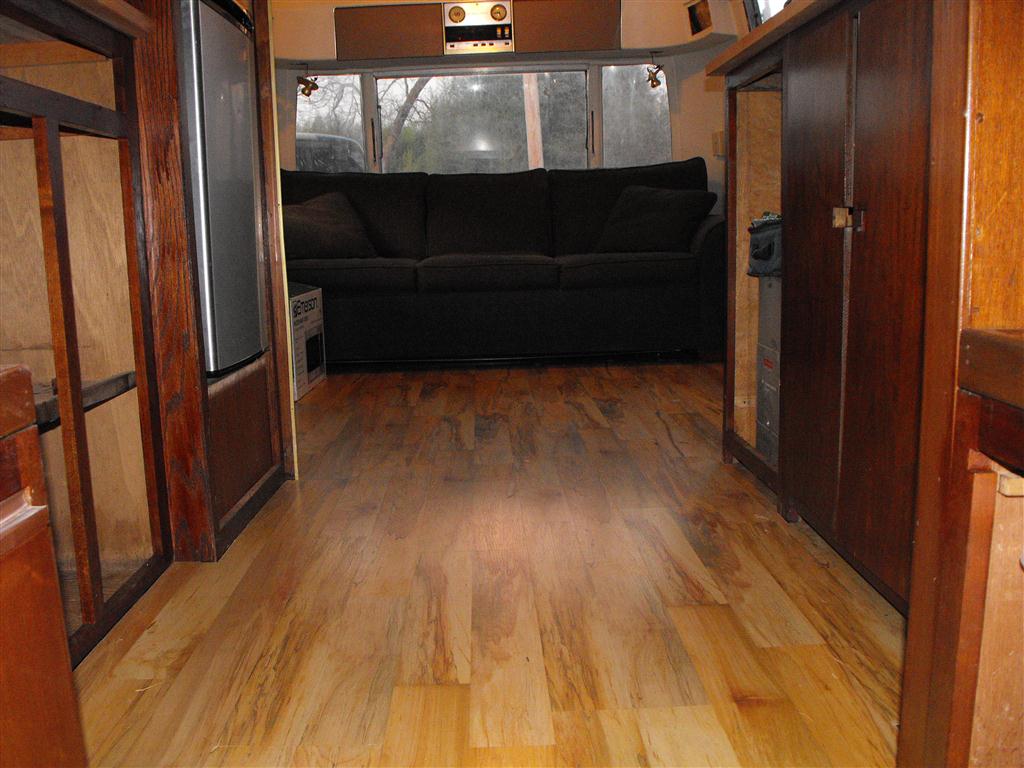
I finished up the floor in the front and kitchen areas, the bathroom sub-floor needs some work so that and the bedroom are not done yet.


In the first picture you can see the pull-out couch we got. It was hell getting it through the door but we finally managed. The couch is a Queen size so we'll have a lot more room than the original Gaucho.

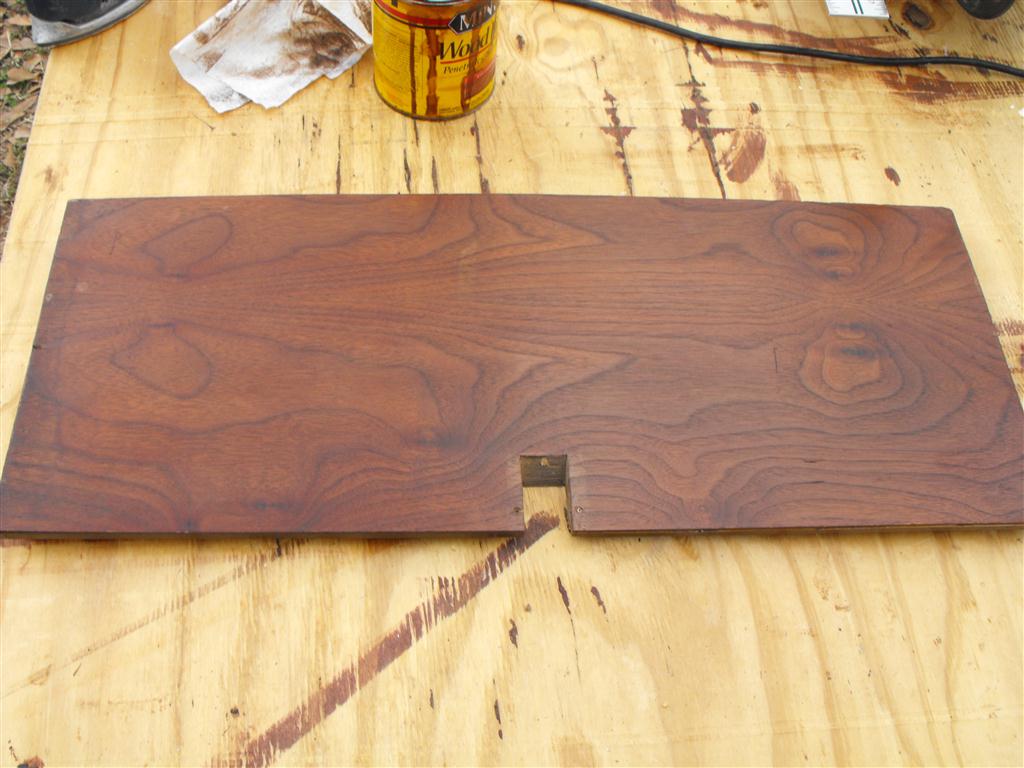
Most of the cabinet doors had de-laminated to some extent. I've spent the last few days gluing them then sanding, staining, and applying poly. Here is one that has just been stained and is waiting for poly.


The cabinet latches (the ones that weren't broken) were in sorry shape.


I lightly sanded the faces then sprayed multiple coats of Krylon Fusion plastic paint. I also had to paint the 3 new ones I got from Inland RV because they sent me white ones instead of brown ones.


Here are a few shots of the kitchen area with the restored cabinet doors.


I'm not happy with the color of the side of the sink cabinet, it's oak instead of walnut. I may sand and re-stain it to see if I can match it a little better.

Tuesday, February 15, 2011

Rebuilding the cabinets

The little time I've had over the last week on the Airstream has been spent on rebuilding the cabinets. First I rebuilt the sink cabinet, I re-used the cabinet front from the ell and used oak 1x2's from the Safari I sold recently (they didnt want any of the interior so I have a lot of spare parts to work with) for the bracing.


With that done I turned my attention to the cabinets on the other side. These entailed quite  bit more work. First I took the stove cabinet face and cut it down to countertop height.


Then I took the top rail and attached it to the top of the new piece, this will make a drawer opening.


Then I cut the cabinet side down to match and re-attached it to the front then reinstalled the cabinet back in place.

With that done I started on the fridge cabinet. The fridge we are putting in here is smaller than the original Dometic so I need to build some extra framing.

First I cut down the upper cover plate that used to go above the fridge and stove to fit over just the fridge area, a microwave will be going on a shelf above the countertop.


Then I cut out a new wall out of 1/4 oak plywood since I couldn't find any walnut and I installed it using a spare metal track and then installed the upper cover plate.


Next I built the platform that the fridge will sit on and installed oak face frames. I used a 3/4" piece of plywood on top of the framing with a 1/4" piece of oak plywood over that.


Then I installed the cross pieces.


With the cabinets finished it was time to sand. It took an entire day to sand everything down. Once everything was sanded I began the staining process. I'm using Red Chestnut from Minwax. The original wall panels and cabinet faces are walnut veneer and solid walnut respectively. I'm having to use oak for the new parts. I dont like having to do this and as soon as I can find walnut I'll be replacing the new parts.


The next day I applied a coat of poly to everything.


Yesterday I cut the butcherblock countertop to size and test fit it into place.


The sink will go on the right and the cooktop will eventually be on the left.

We also had time to paint most of the interior skin, the color is Valspar's Homestead resort Parlor Taupe. The area that's not painted yet (upper walls) will be an antique white, I thought I had a full can but it turned out that I didn't. I'll buy a can today after work and hopefully have it painted by tonight. The color will be Homestead Resort Jefferson White. The cabinet faces are a light chocolate brown.


Next up will be repair of the sub-floor and installation of the laminate floor.

Thursday, February 3, 2011

Interior work begins

Since this Airstream has sat for about 10 years there was a lot of mold and grime everywhere. So the first thing we did was scrub down the entire inside with bleach and scrub pads, that took two days.

With that done I started the kitchen cabinet tear-down. I am removing the ell part of the cabinets.


We did this with our other '69 Sovereign and really liked it a lot better than this layout.


I will be re-using the same cabinet face and I will use oak 1x2's for the rest of the framing. I will be re-using a luann panel that I removed from the '70 Safari that we recently sold.

Next I will be removing the fridge (The door is broken plus we already have a stainless 3/4 height fridge to replace it) and the oven. I will put a butcher-block countertop in place of the oven with a shelf above it for a microwave.