The little time I've had over the last week on the Airstream has been spent on rebuilding the cabinets. First I rebuilt the sink cabinet, I re-used the cabinet front from the ell and used oak 1x2's from the Safari I sold recently (they didnt want any of the interior so I have a lot of spare parts to work with) for the bracing.
With that done I turned my attention to the cabinets on the other side. These entailed quite bit more work. First I took the stove cabinet face and cut it down to countertop height.
Then I took the top rail and attached it to the top of the new piece, this will make a drawer opening.
Then I cut the cabinet side down to match and re-attached it to the front then reinstalled the cabinet back in place.
With that done I started on the fridge cabinet. The fridge we are putting in here is smaller than the original Dometic so I need to build some extra framing.
First I cut down the upper cover plate that used to go above the fridge and stove to fit over just the fridge area, a microwave will be going on a shelf above the countertop.
Then I cut out a new wall out of 1/4 oak plywood since I couldn't find any walnut and I installed it using a spare metal track and then installed the upper cover plate.
Next I built the platform that the fridge will sit on and installed oak face frames. I used a 3/4" piece of plywood on top of the framing with a 1/4" piece of oak plywood over that.
Then I installed the cross pieces.
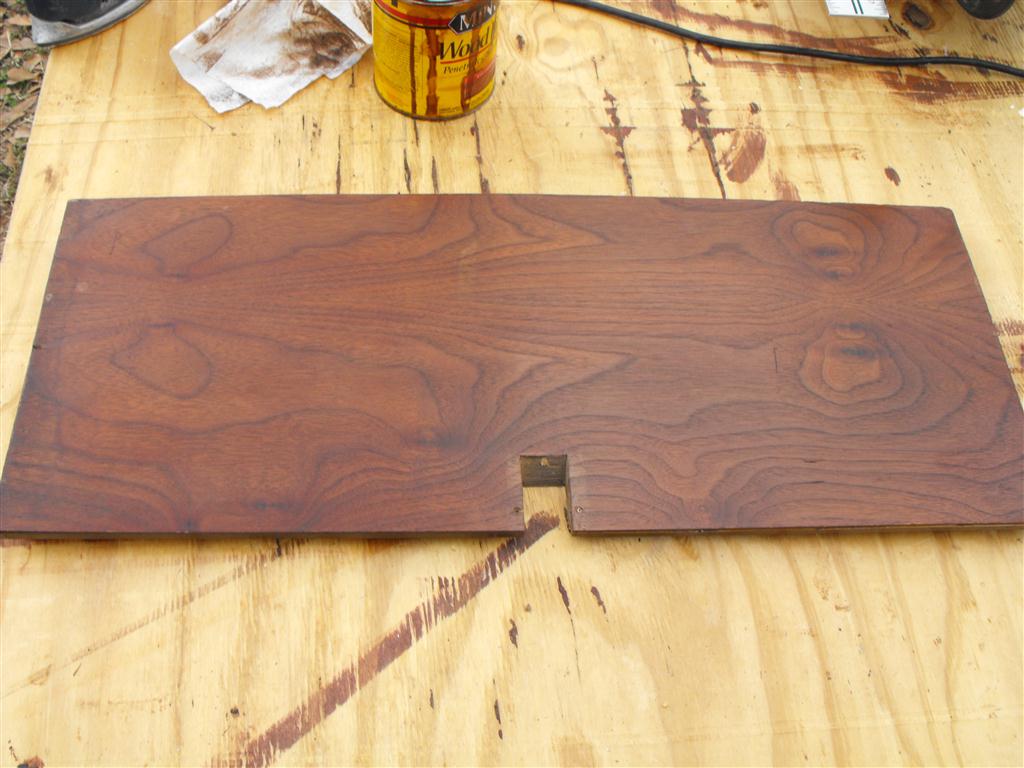
With the cabinets finished it was time to sand. It took an entire day to sand everything down. Once everything was sanded I began the staining process. I'm using Red Chestnut from Minwax. The original wall panels and cabinet faces are walnut veneer and solid walnut respectively. I'm having to use oak for the new parts. I dont like having to do this and as soon as I can find walnut I'll be replacing the new parts.
The next day I applied a coat of poly to everything.
Yesterday I cut the butcherblock countertop to size and test fit it into place.
The sink will go on the right and the cooktop will eventually be on the left.
We also had time to paint most of the interior skin, the color is Valspar's Homestead resort Parlor Taupe. The area that's not painted yet (upper walls) will be an antique white, I thought I had a full can but it turned out that I didn't. I'll buy a can today after work and hopefully have it painted by tonight. The color will be Homestead Resort Jefferson White. The cabinet faces are a light chocolate brown.
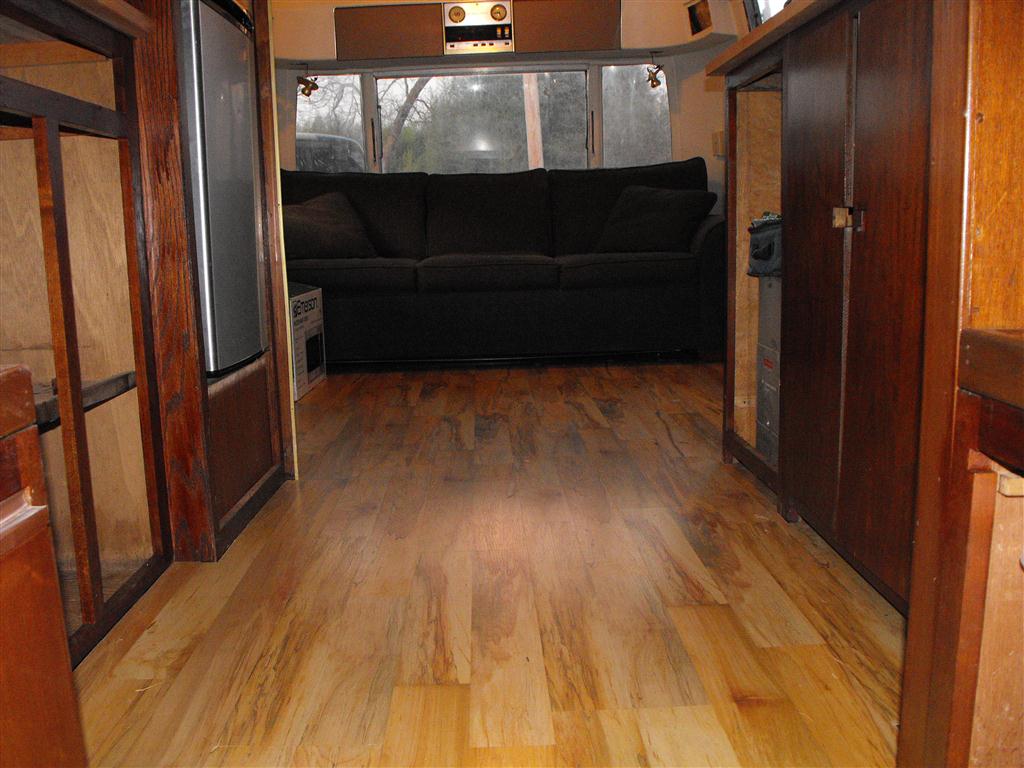
Next up will be repair of the sub-floor and installation of the laminate floor.


